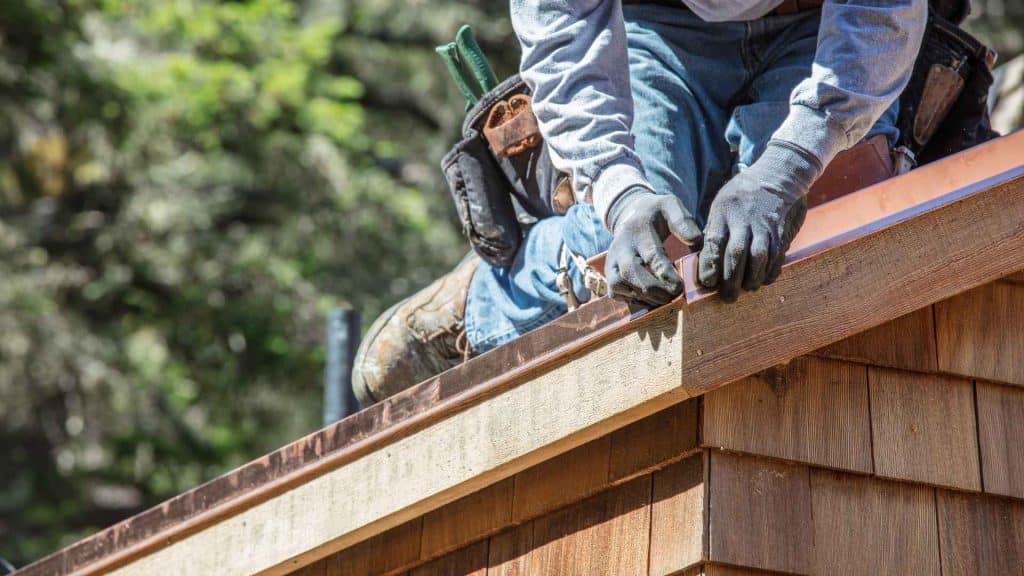
When most people picture a roof, they think about shingles. But the small metal details—called flashing—do much of the heavy lifting to keep water out. Flashing guides water away from seams, edges, and penetrations where leaks start. Understanding what it is, where it goes, and why professional installation matters will help protect your home and budget.
What Is Roof Flashing?
Roof flashing is a thin, durable material—usually metal—installed at roof transitions and penetrations. You’ll find it around chimneys and skylights, along walls where a roof meets siding, in valleys where two slopes join, and around vent pipes. Proper flashing overlaps surrounding materials in a water‑shedding pattern so gravity carries water onto shingles and into gutters, not into your home.
Common materials include aluminum (lightweight and economical), galvanized steel (strong and widely used), and copper or stainless steel (premium options with long service life). Pipe boots combine a flexible collar with a metal base to seal around plumbing vents. Material choice matters, but correct design and integration matter more.
Where Flashing Belongs On A Roof
- Step Flashing At Sidewalls: Individual L‑shaped pieces woven with each shingle course where a sloped roof meets a vertical wall.
- Counterflashing at Masonry: A secondary cover inserted into mortar joints (or integrated behind cladding) that overlaps and protects base flashing.
- Apron or Headwall Flashing: At the bottom or top of a roof plane where it meets a wall, directing water back onto shingles.
- Valley Flashing: In the trough where two slopes meet; valleys carry high water volume and require careful detailing.
- Pipe Boot Flashing: A metal base integrated with shingles plus a flexible collar that grips the vent pipe.
- Skylight Flashing: Purpose‑built kits that interlock with the frame and roofing.
- Drip Edge: Metal along eaves and rakes that shields the roof edge and guides water into gutters.
- Kickout Flashing: A small diverter at the bottom of a roof‑to‑wall intersection that “kicks” water into the gutter instead of behind siding.
How Flashing (Actually) Prevents Leaks
Flashing works because of layering, not because of caulk. Correctly installed flashing:
- Overlaps “shingle fashion,” with upper pieces always covering lower pieces.
- Integrates with underlayment, especially self‑adhered membranes at eaves, valleys, and penetrations.
- Manages capillary action with adequate overlaps, bends, and drip edges.
- Hides most fasteners beneath subsequent layers to keep nail penetrations out of the water flow.
Sealant has its place, but it’s a helper—not the hero. Caulk ages; smart metalwork and proper layering endure.
Why Professional Installation Matters
Flashing is precision work. Small mistakes—like reversing an overlap, misplacing a nail, or skipping a kickout—can cause big leaks months or even years later. A professional like Grace Family Roofing brings the training, safety practices, and system‑level thinking required to do it right the first time.
Here’s what that looks like in practice:
- Correct Detailing: We weave step flashing with each shingle course, reglet‑cut counterflashing into masonry, and form kickouts to drive water into gutters.
- System Integration: Flashing ties into underlayment, shingles, siding, and ventilation as one coordinated assembly—not a collection of patches.
- Material Compatibility: We select metals and fasteners that play well together to reduce corrosion risk.
- Photo Documentation: Clear before‑and‑after photos show what we found and how we fixed it.
- Safety and Warranty: Proper methods protect your home, your warranty, and everyone on the job.
DIY attempts or “caulk‑only” fixes can look fine at first—and fail under wind‑driven rain. With flashing, craftsmanship is the difference between dry and damaged.
Signs You Might Have Flashing Problems
- Stained ceilings or bubbling paint near chimneys, skylights, or roof‑to‑wall areas
- Musty odors after wind‑driven rain
- Dark lines or damp sheathing in the attic near penetrations
- Rotting fascia, rusty metal, or streaks on siding below a roof edge
- Drips that appear only during certain wind directions
If you notice these, schedule a professional evaluation promptly. Small issues are far cheaper to correct early.
General Examples Of Flashing Issues
- Chimney Leak After a Storm: Counterflashing was surface‑caulked to brick instead of inserted into a mortar joint. Wind pushed rain behind the caulk bead, and water tracked through the masonry.
- Wall Intersection Without a Kickout: Paint peeled below a roof‑to‑wall junction because water overshot the gutter end and ran behind siding.
- Aging Vent Pipe Boot: A slow drip during heavy rain came from a UV‑cracked rubber collar. Replacing the boot and integrating it properly with shingles stopped the leak.
- Valley Backups From Debris: Seasonal leaves created a dam in a valley. Water backed up and crept under shingles. Clearing debris and extending the self‑adhered membrane solved it.
Best Practices We Follow
- Respect The Flow: Base flashing under shingles, counterflashing over base, and step flashing interleaved with each shingle course.
- Embed, Don’t Glue: Counterflashing inserted into mortar joints or tucked beneath cladding—not just surface‑caulked.
- Place Nails High: Fasteners go where the next layer covers them, away from standing water.
- Form and Size Correctly: Valleys get adequate width and thickness; kickouts are shaped to drive water into the gutter.
- Use Compatible Materials: Separate dissimilar metals and select the right fasteners for the environment.
- Integrate With Underlayment: Self‑adhered membrane behind and along flashing adds a robust backup barrier.
- Limit Reliance On Sealant: Use it where specified, never as a substitute for proper overlaps and metalwork.
Maintenance Homeowners Can Do
- Inspect From The Ground or Upper Windows After Storms: Look for lifted metal, gaps, or rust.
- Check the Attic Periodically: After rain, scan around penetrations for damp wood or musty smells.
- Keep Valleys and Gutters Clear: Free‑flowing paths prevent sideways intrusion.
- Trim Overhanging Branches: Less debris reduces risk.
- Schedule Routine Roof Checkups: A professional can catch small flashing issues before they become expensive repairs.
Repair, Reflashing, Or Reroofing?
- Spot Repairs: Replace a cracked pipe boot, add a missing kickout, or correct a short run of step flashing when the roof is otherwise healthy.
- Reflashing Major Features: Chimneys and skylights sometimes need complete reflashing, often with adjacent shingle removal to re‑establish proper layering.
- During Reroofing: A full replacement is the ideal time to reset every detail—new drip edge, extended ice‑and‑water protection, and upgraded metals for long‑term reliability.
Grace Family Roofing evaluates your roof as a complete system and explains options in clear terms, with photos and a transparent scope so you can make a confident choice.
A Simple Conclusion
Flashing may be small, but it’s essential to a dry, durable roof. If you’ve seen stains, musty odors, or suspect an issue around a chimney, wall, or vent, a professional inspection is the next smart step. Grace Family Roofing focuses on these details every day, diagnosing the cause and fixing it the right way. If you’d like a straightforward assessment and practical options, we’re ready to help.